This module is licensed under the MIT License
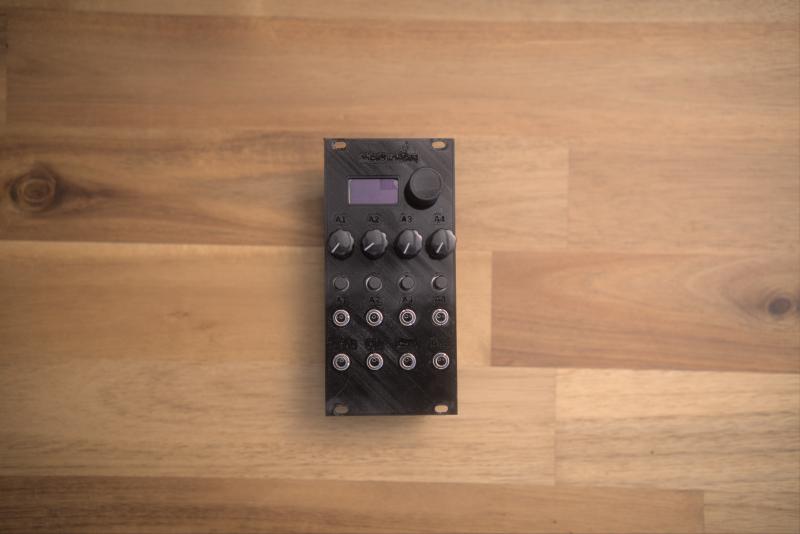
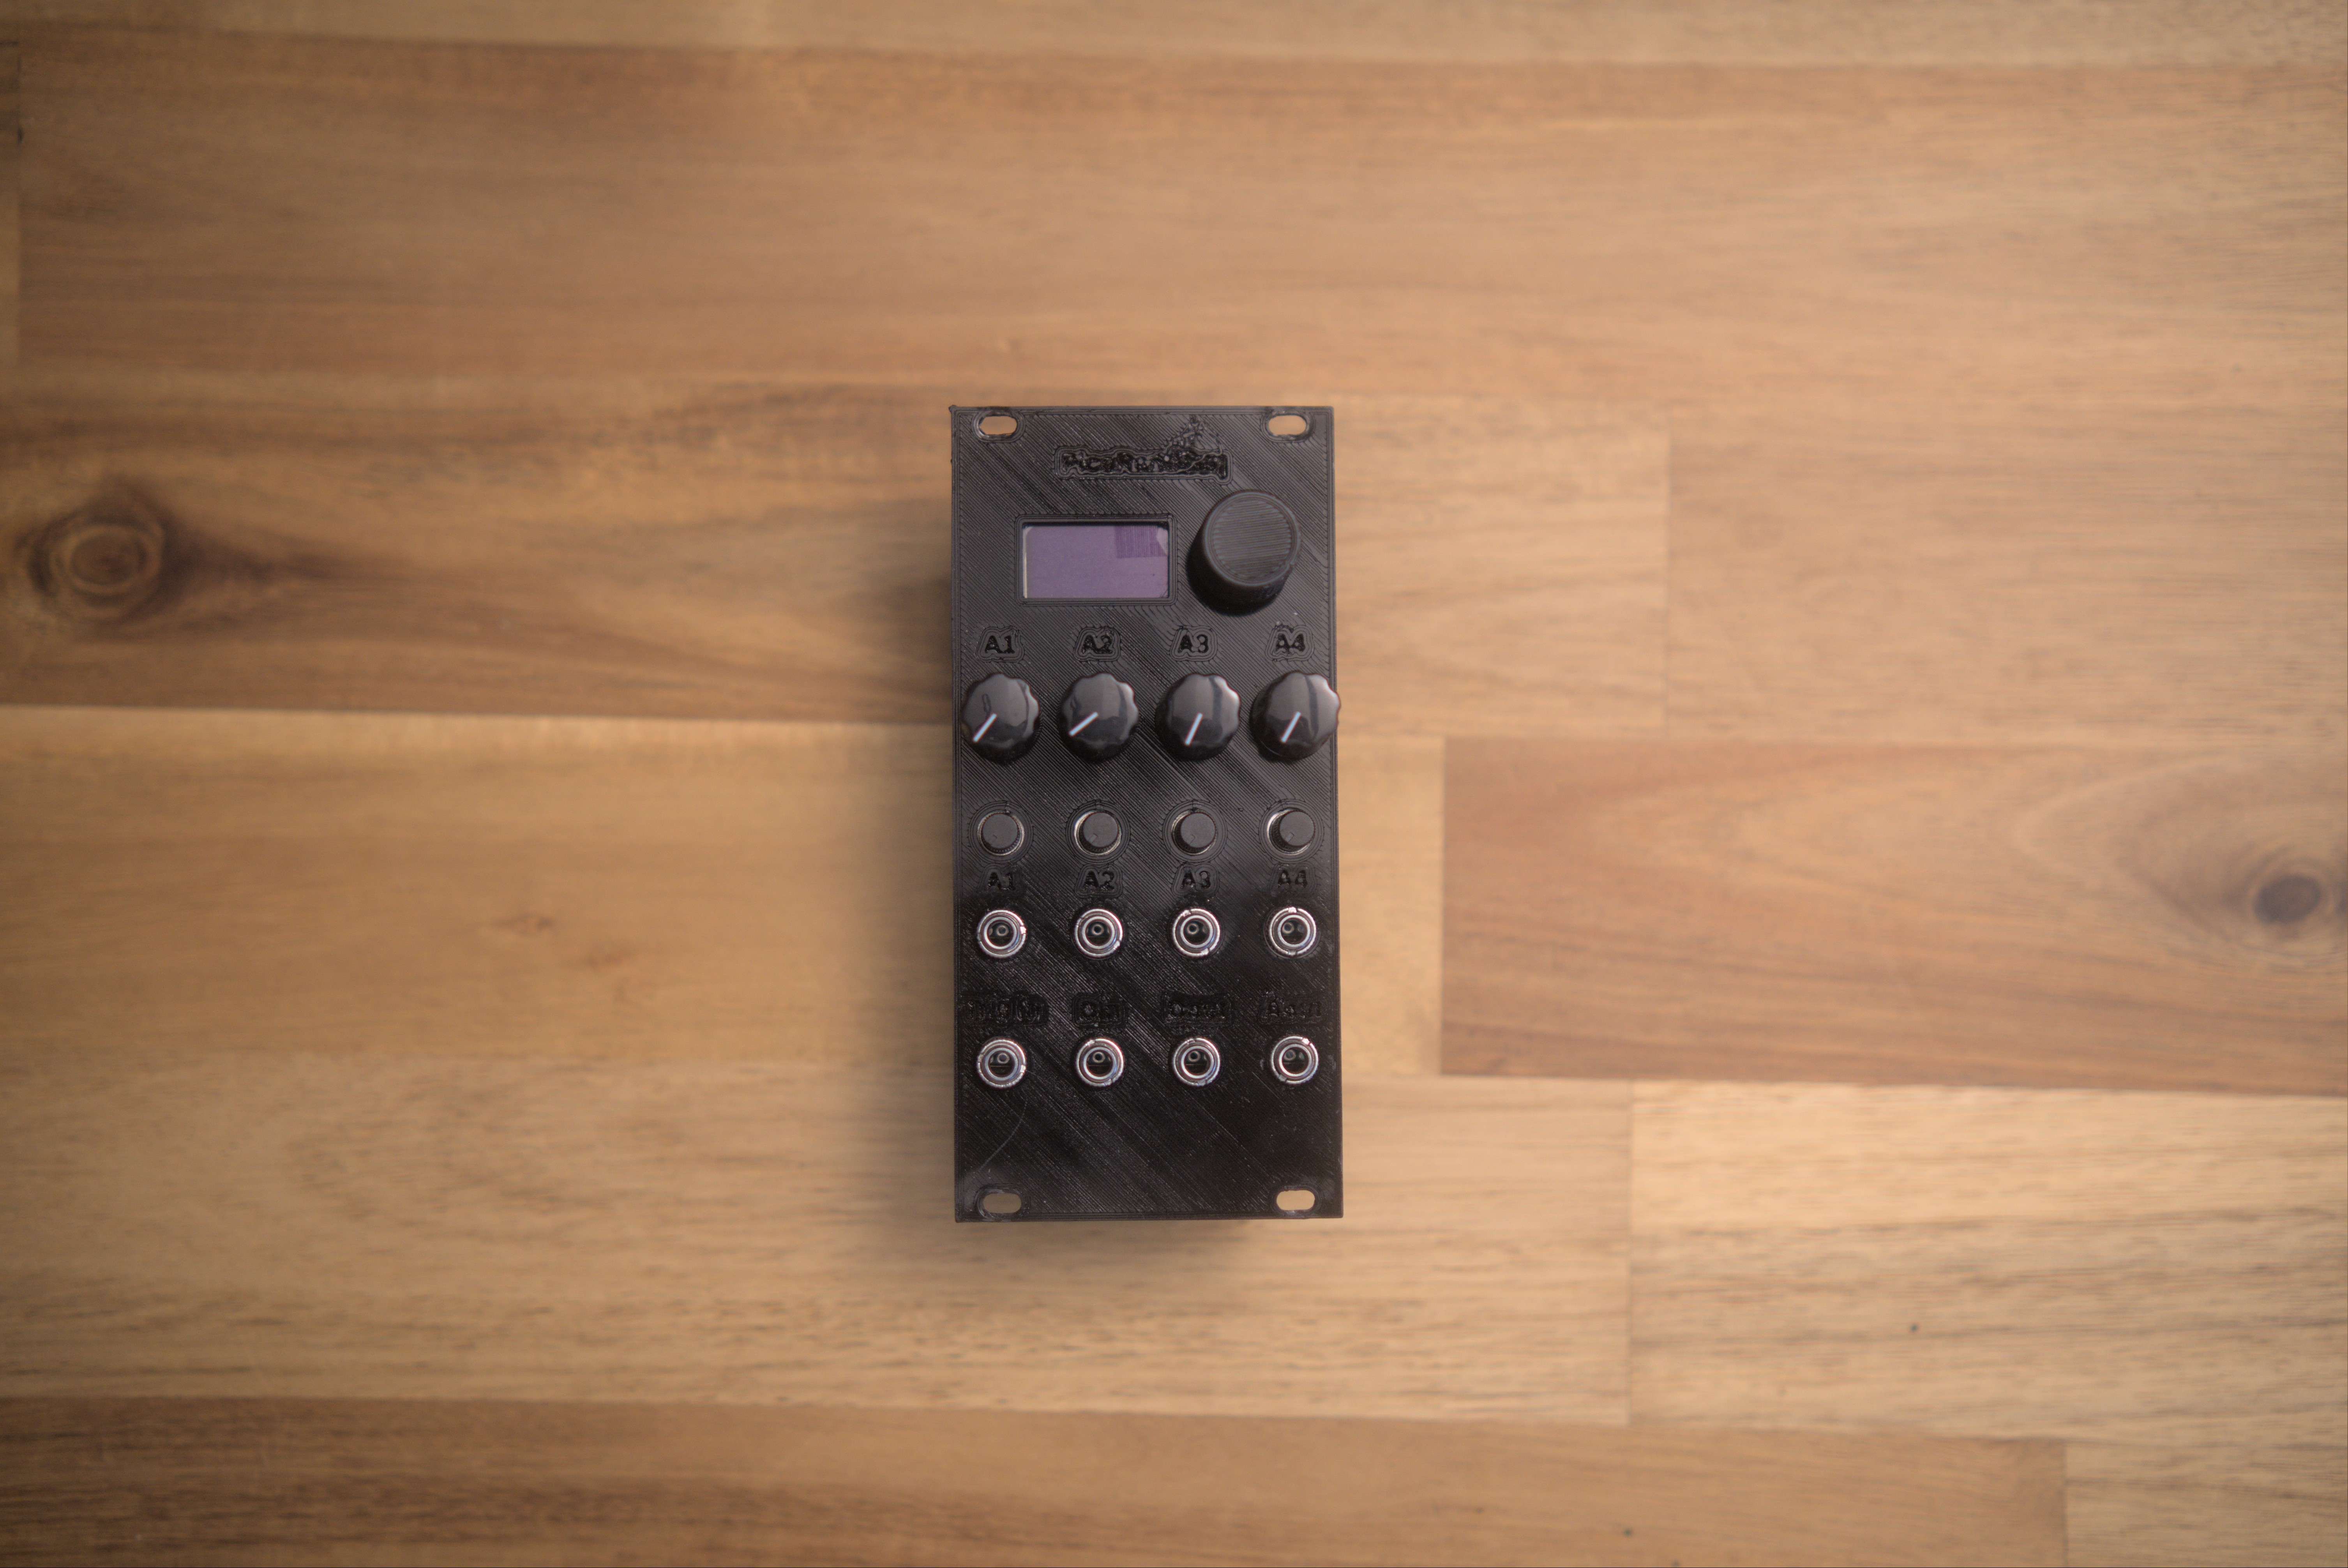
A random control voltage and trigger/gate sequencer Eurorack module
This module is a random CV and trigger/gate sequencer with a built in quantizer with predefined scales. An upgrade from my first random sequencer module.
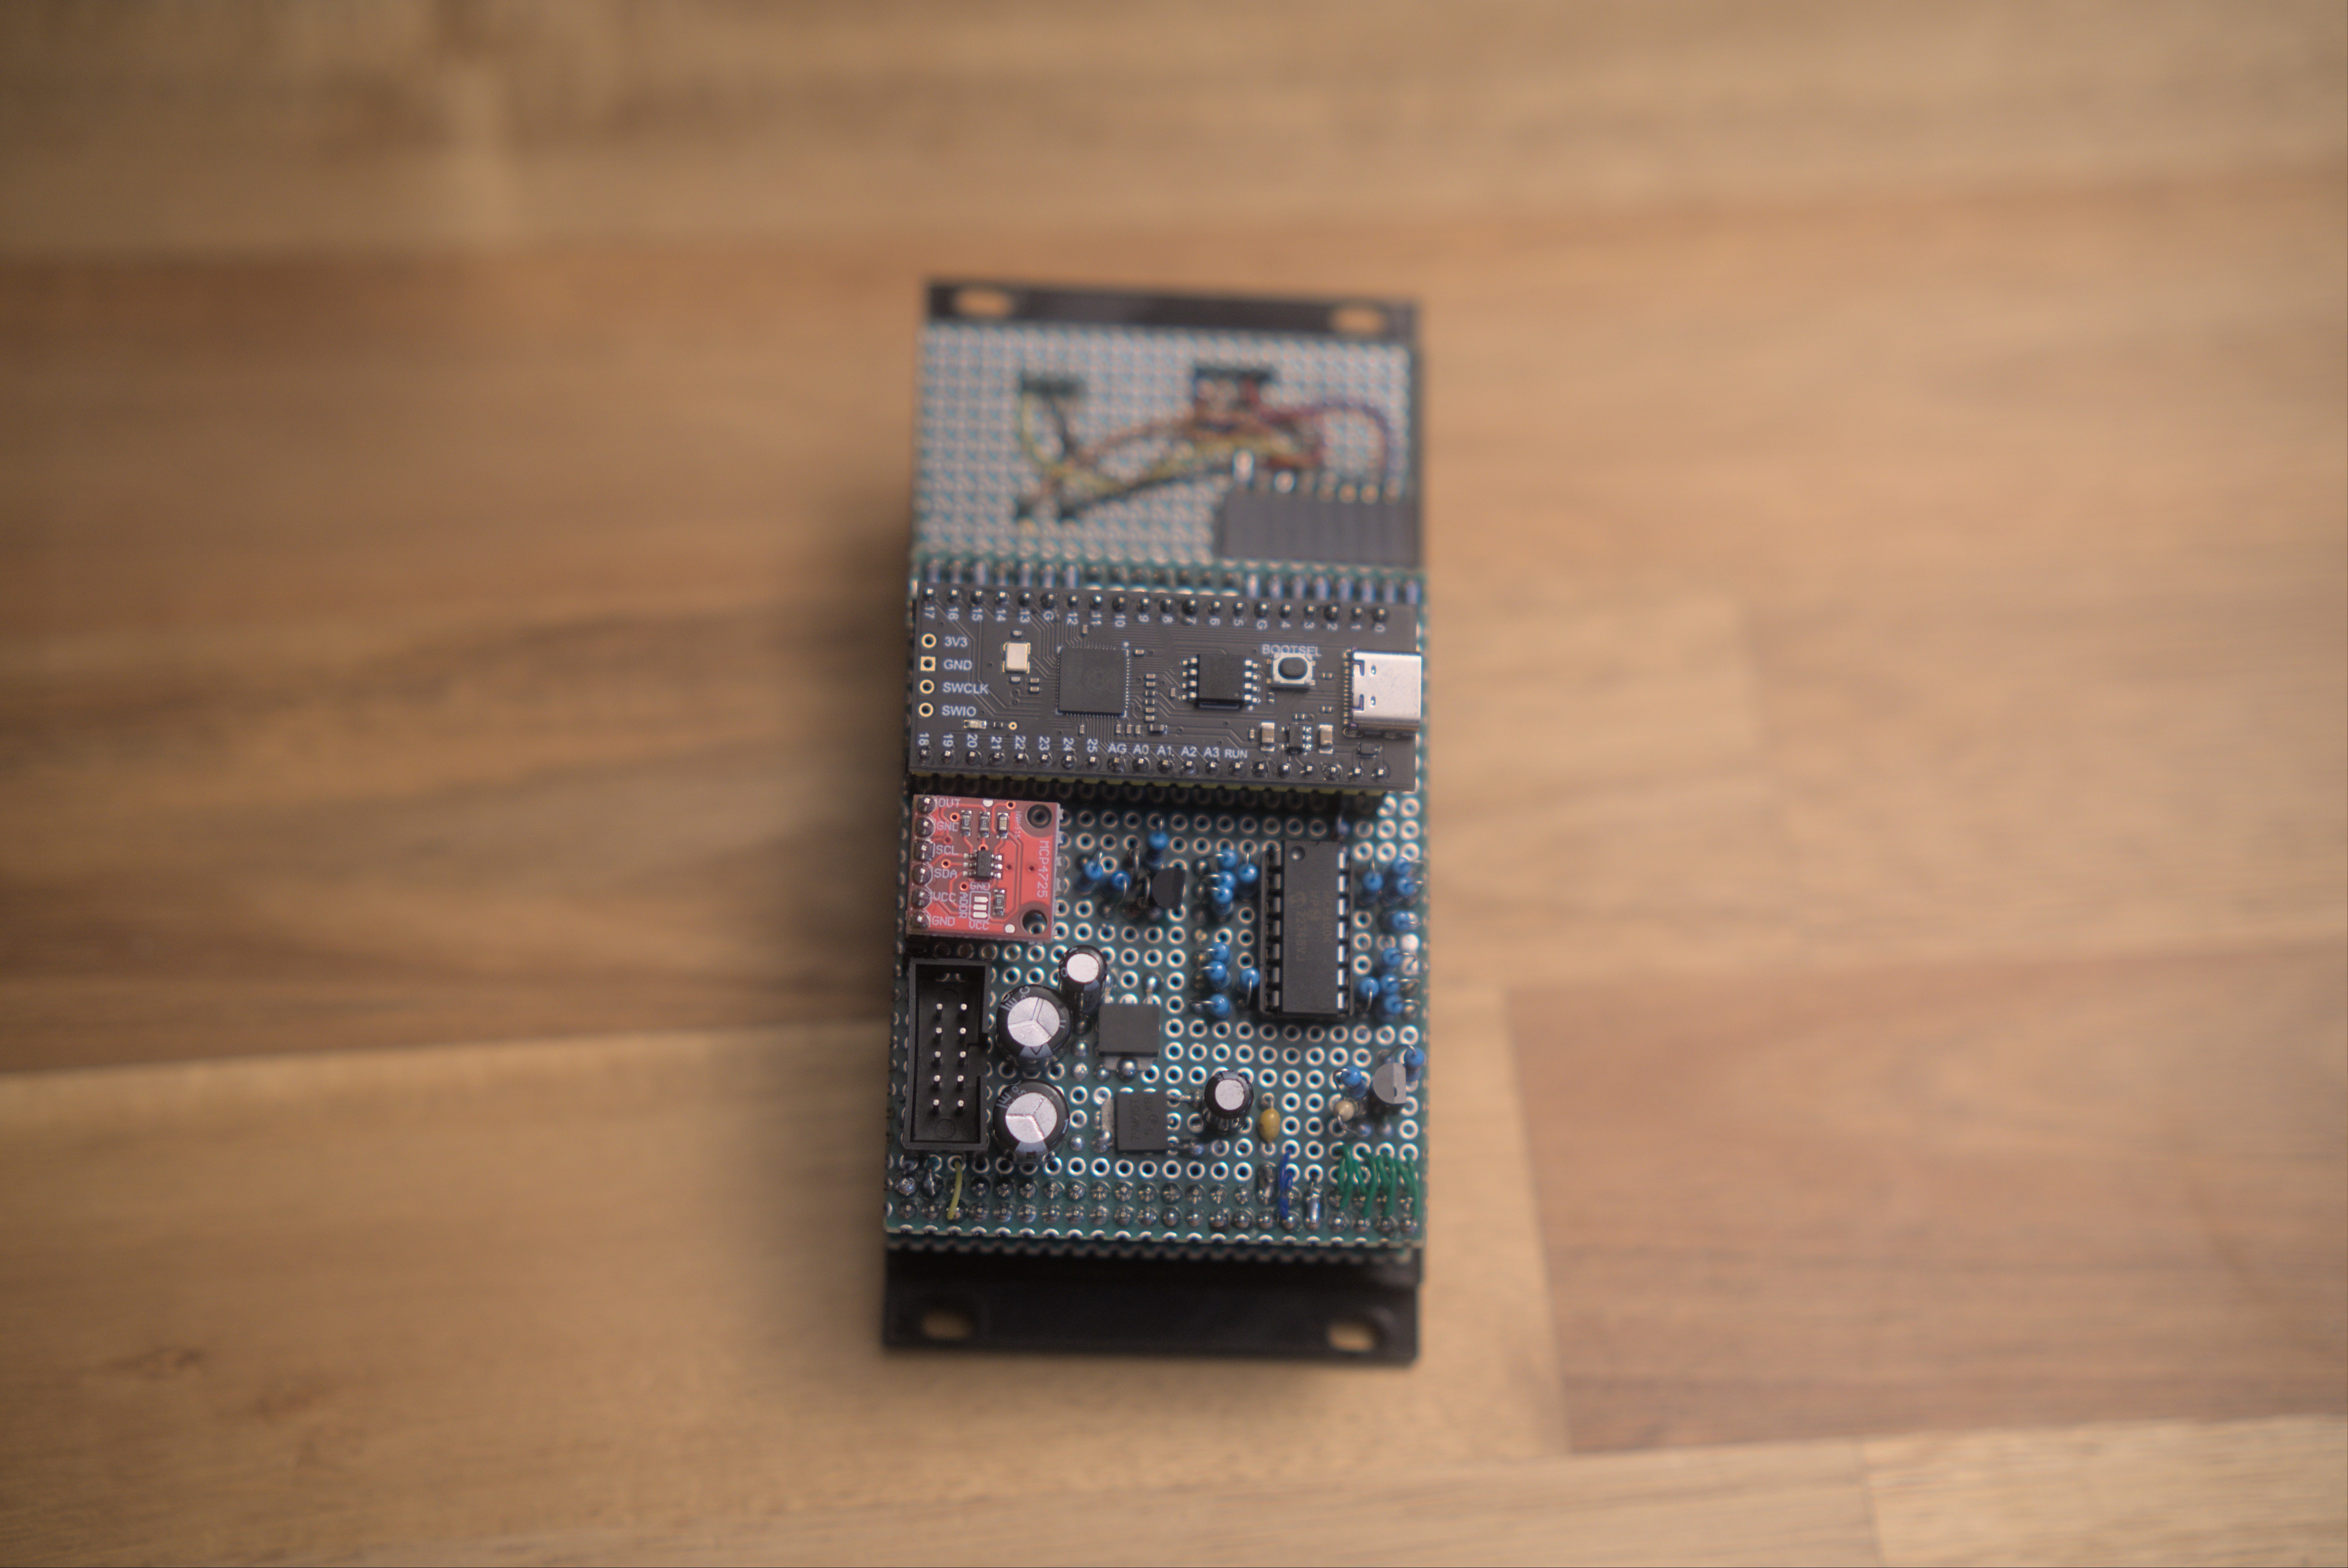
Built with the Pi Pico. Coded in Python.
Demo
Inspiration
I’ve taken some inspiration from the popular random module called the Turing Machine. Also, I’ve taken some code from the EuroPi, specifically the analog reader for the CV inputs and knobs.
TODO
- Prototype
- Schematic
- CV input code
- Random triggers
- A better menu system
- Better logic, moving the rotary encoder while its running will make the sequencer glitch
Features
Basic features
- 128x64 oled screen
- Rotary Encoder
- A random cv sequencer
- A random trigger/gate sequencer
- Trigger length based on clock input
- Output cv quantized based on scale chosen
- 4 Analog parameter knobs with inputs
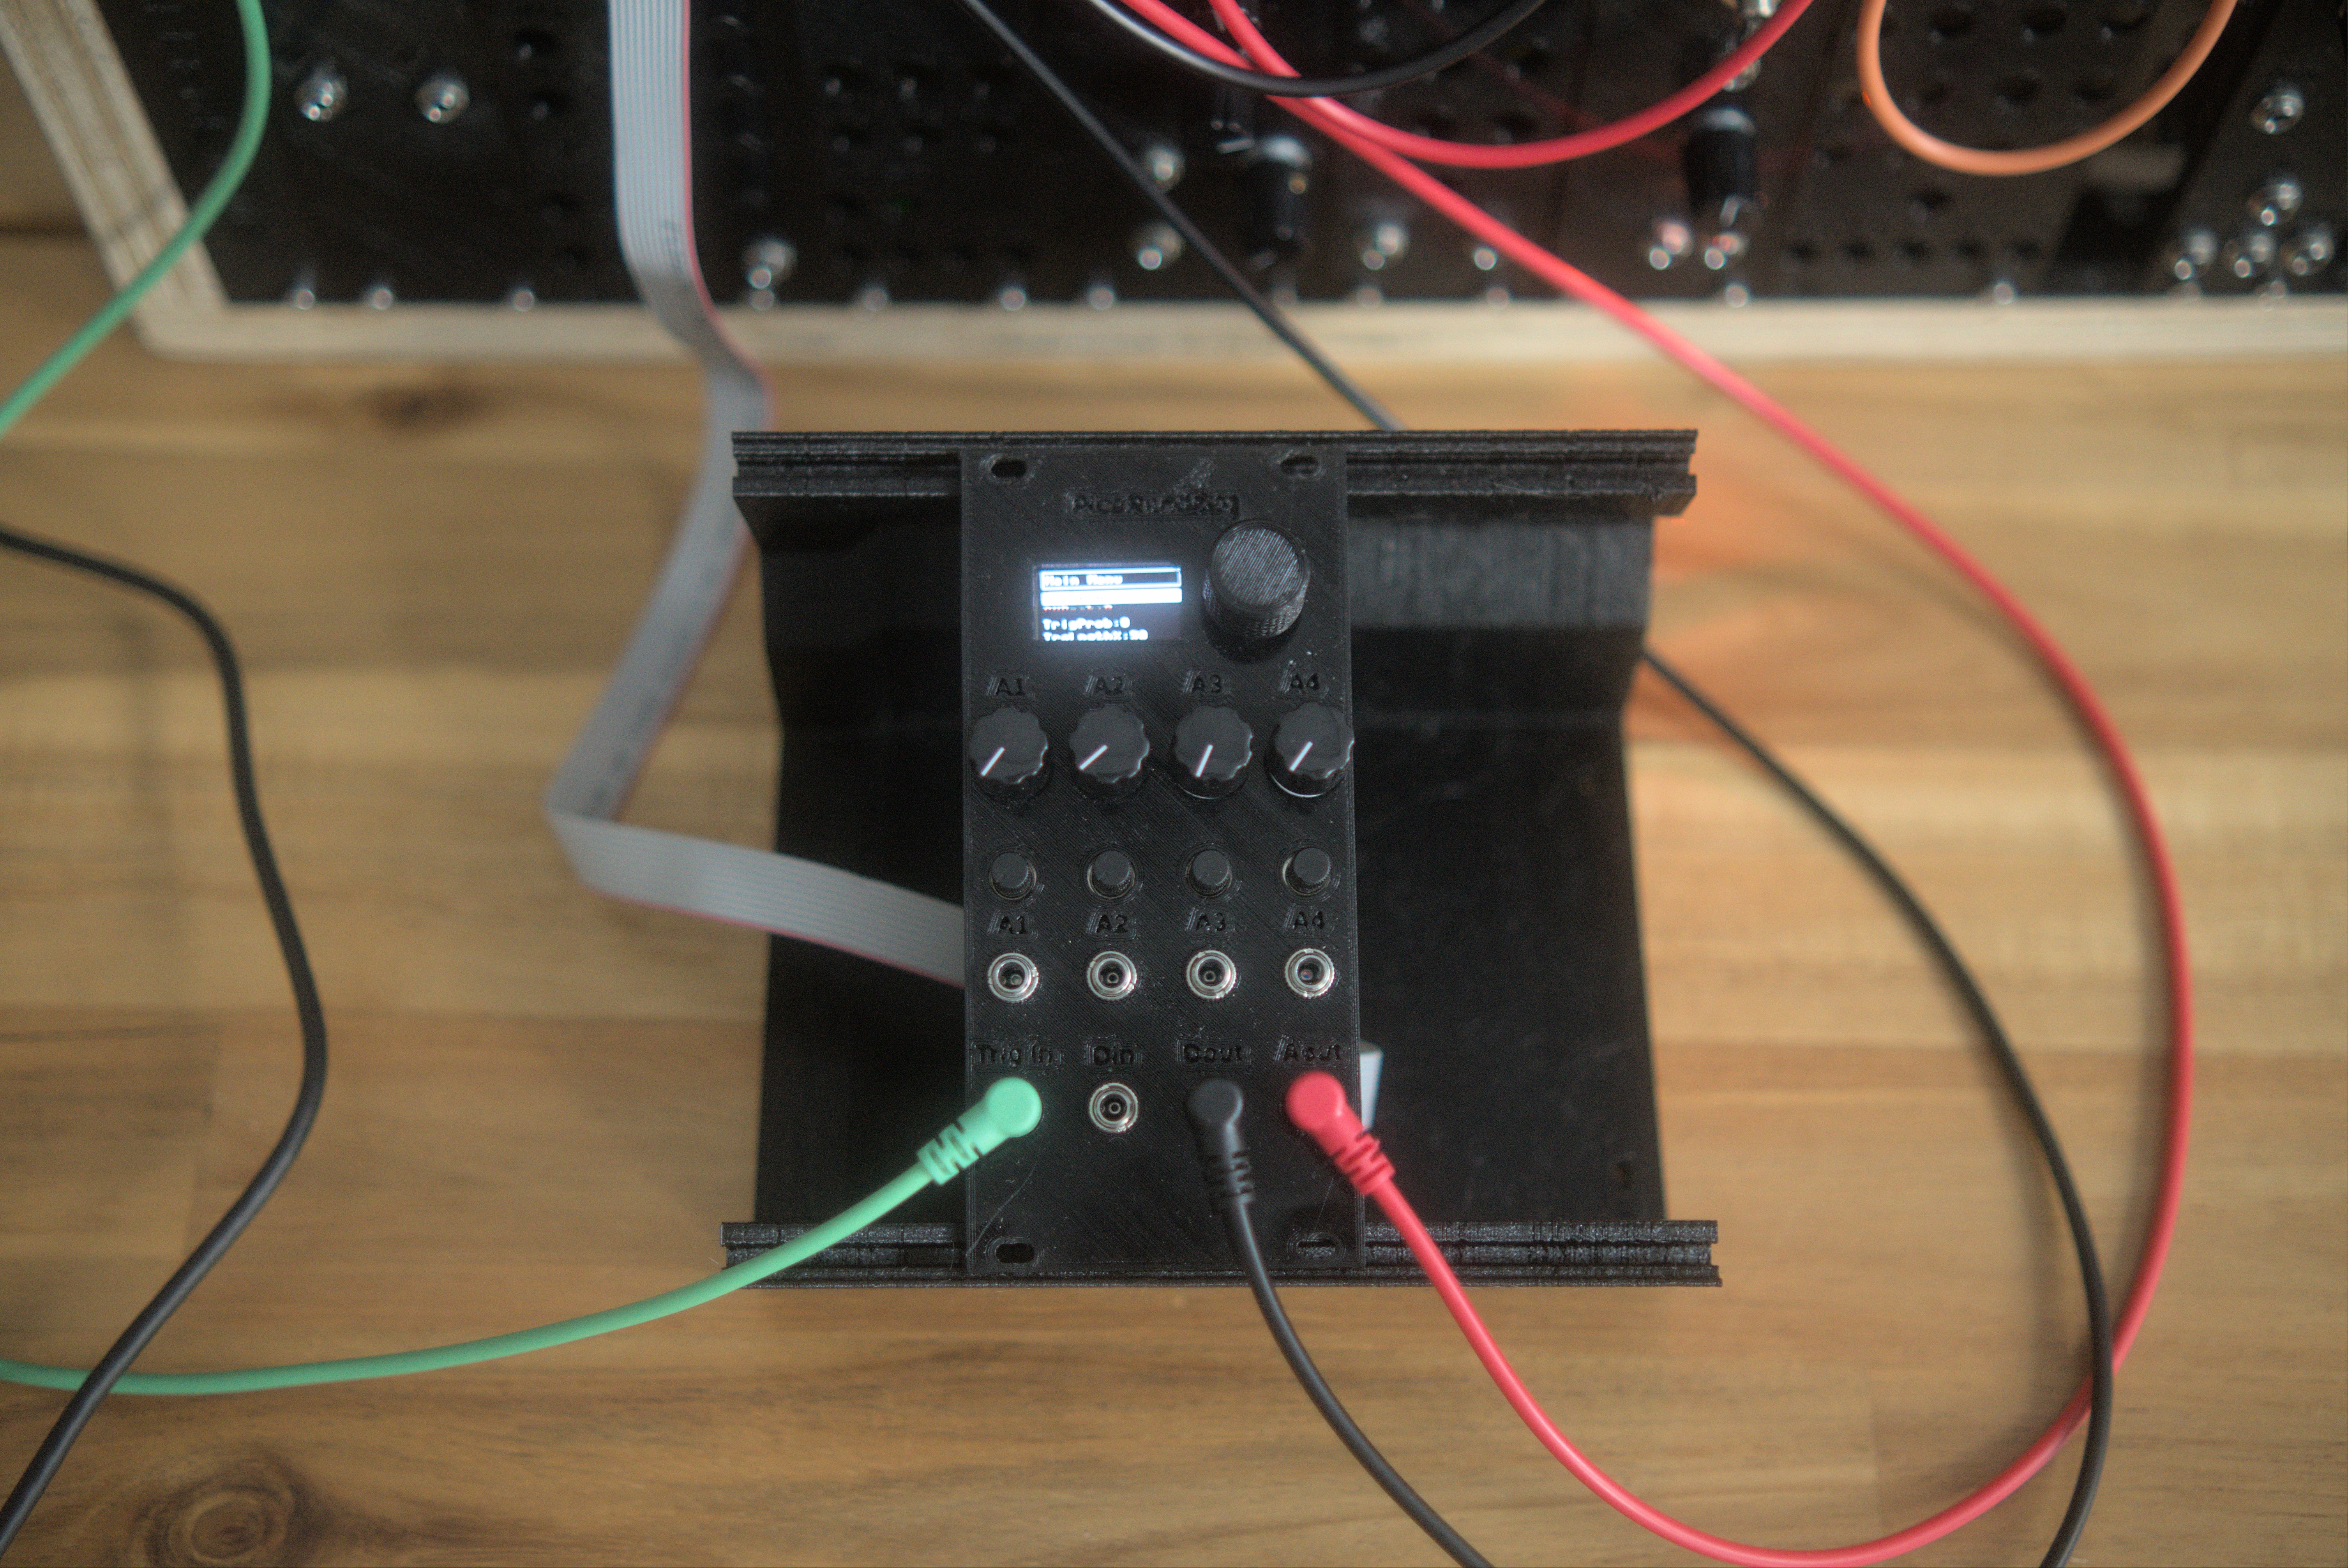
IO
- 4 Analog inputs with attenuation and offset knobs (serving as control knobs if no input is connected)
- Clock/trigger input
- Digital input (unused)
- Trigger output
- vOct output
Menu choices
- Scale/Mode
- CV Probability
- Trigger Probability
- Trigger length (0 to 100% of clock)
- Number of steps (2 to 16 (You can modify the max steps in the code))
- Octaves (the number of octaves it should range from (1 to 5))
- Starting note (note 1 to 12)
- CV sequence erase toggle
- Trigger sequence erase toggle
- Test CV scale/sequence toggle (it will run through the current scale chosen ascending)
- Tuning CV scale/sequence toggle (to help you tune your vco)
How it randomizes
Every high clock pulse, the current step will be changed randomly depending on the probability.
The algorithm simply does the following:
It selects a random note from the current scale chosen. Then it decides if the current step will be overwritten by the random note based on the probability.
| |
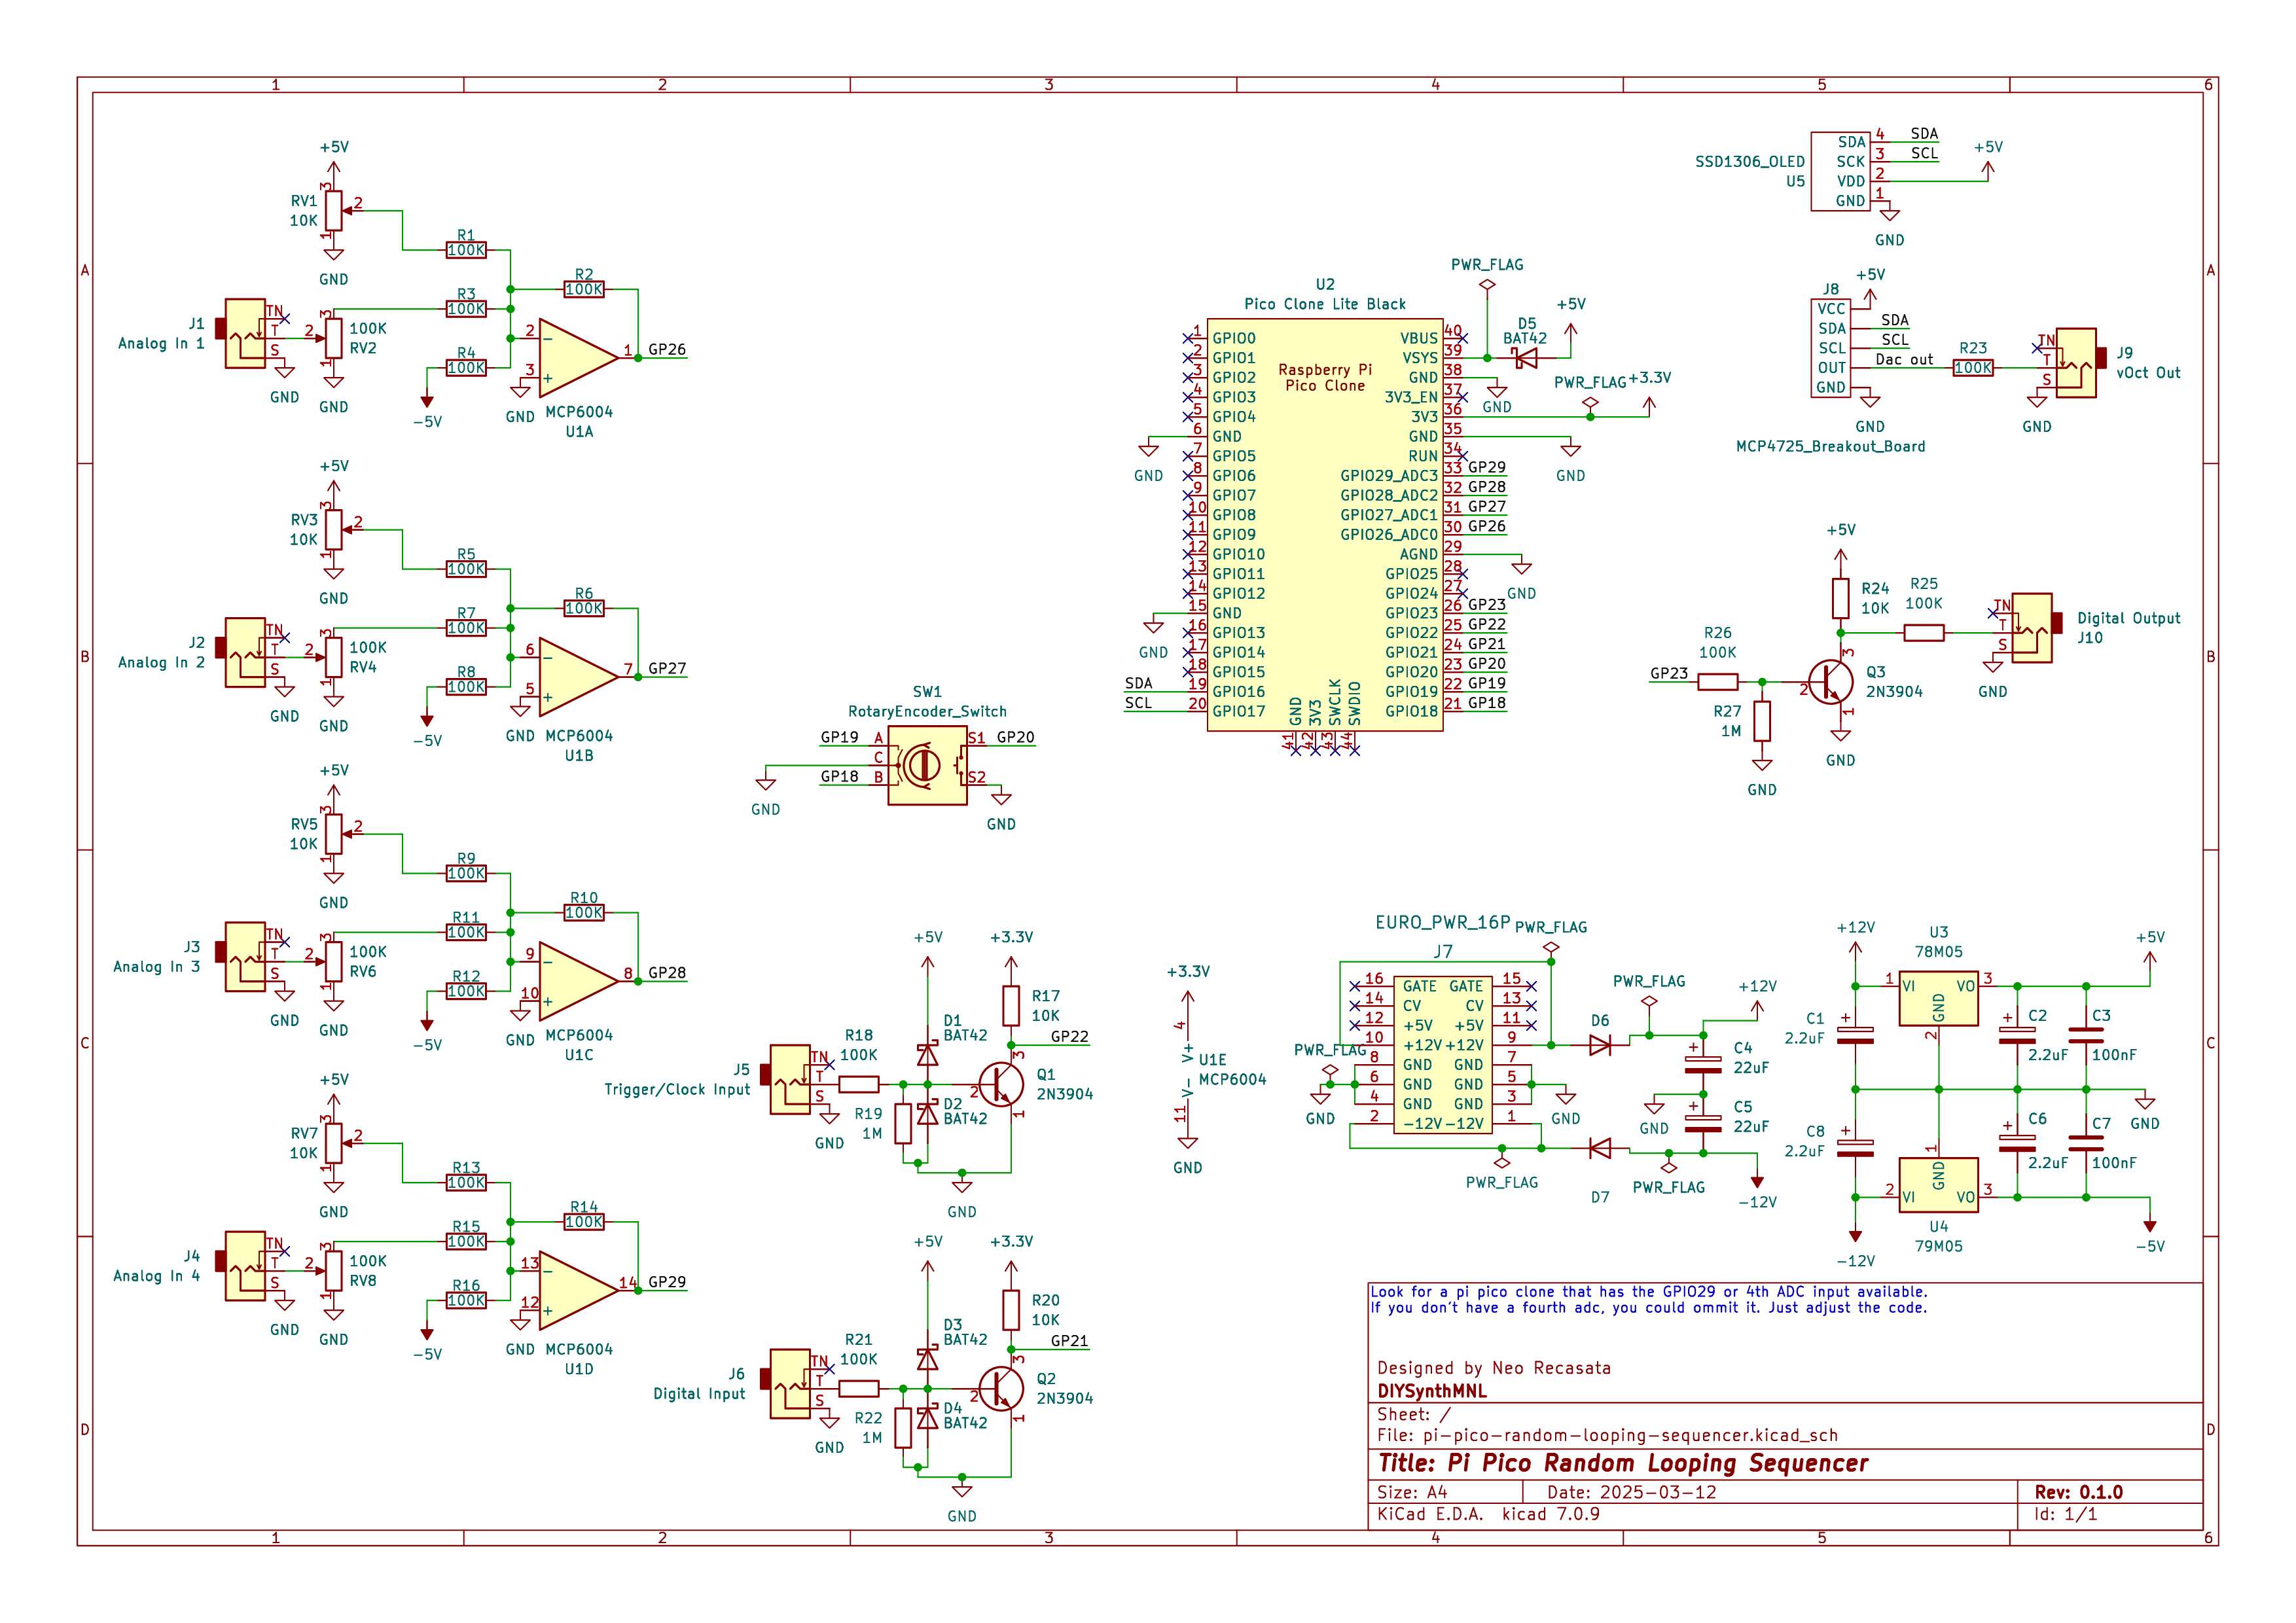
Schematic
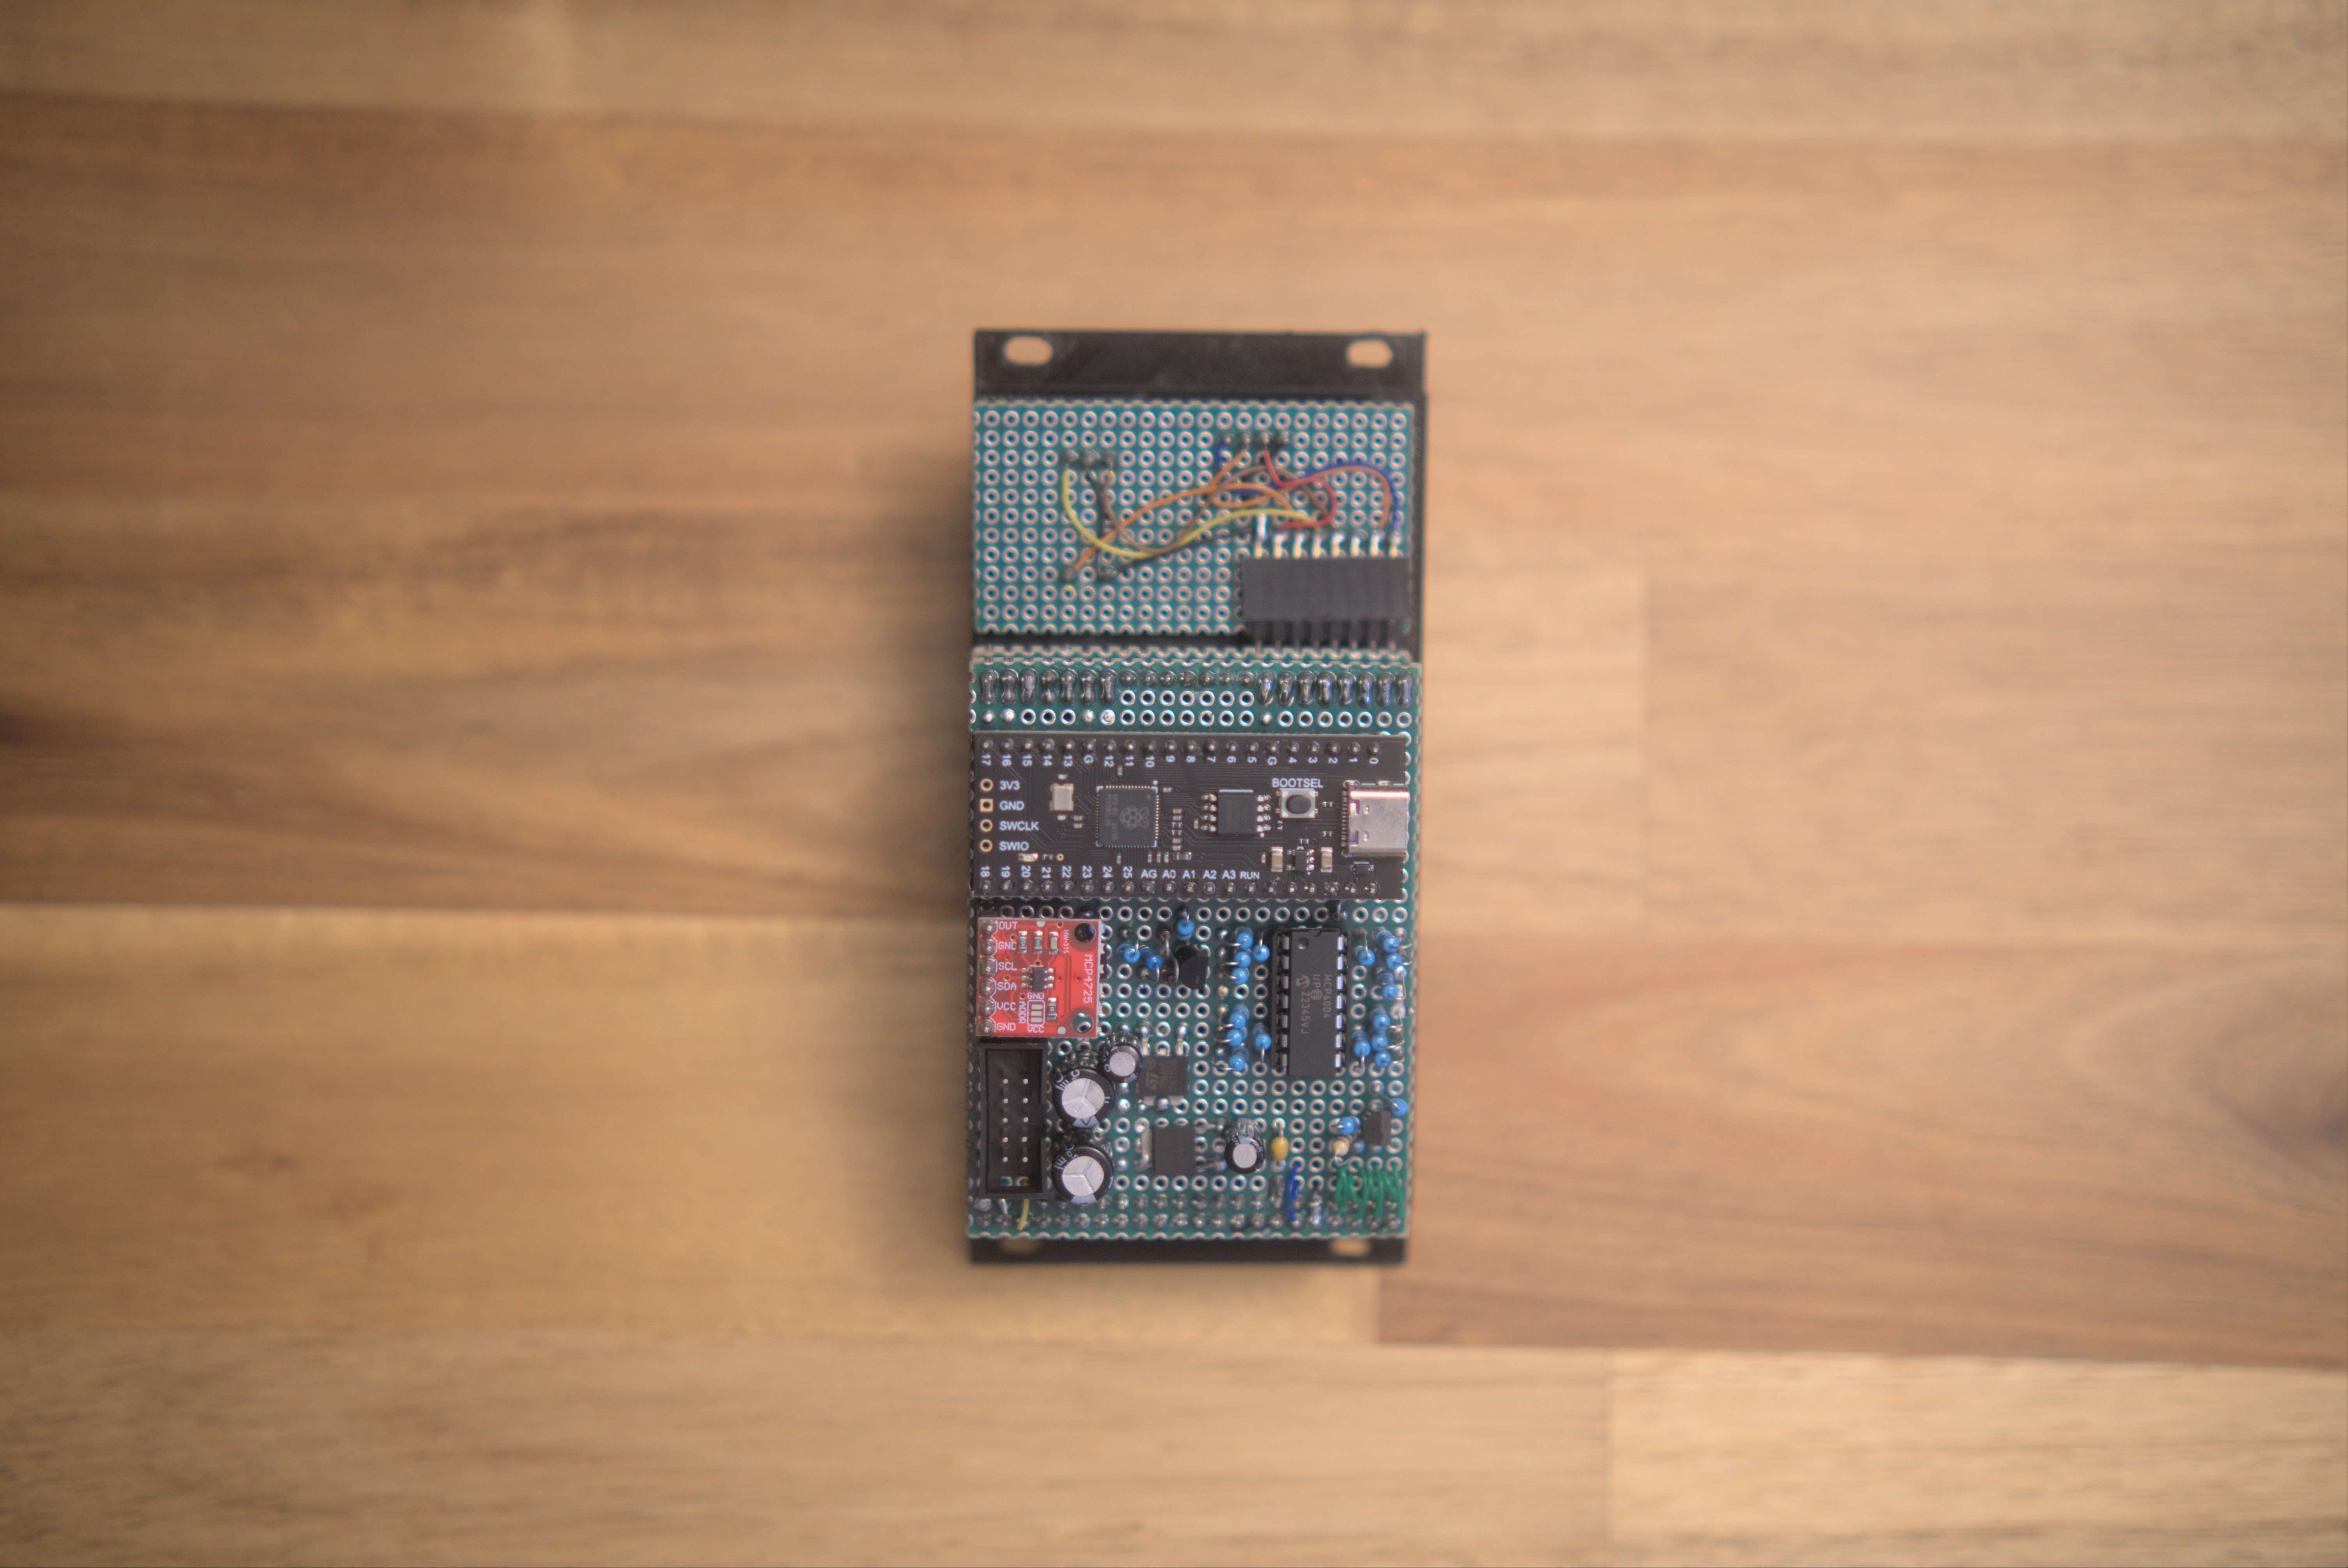
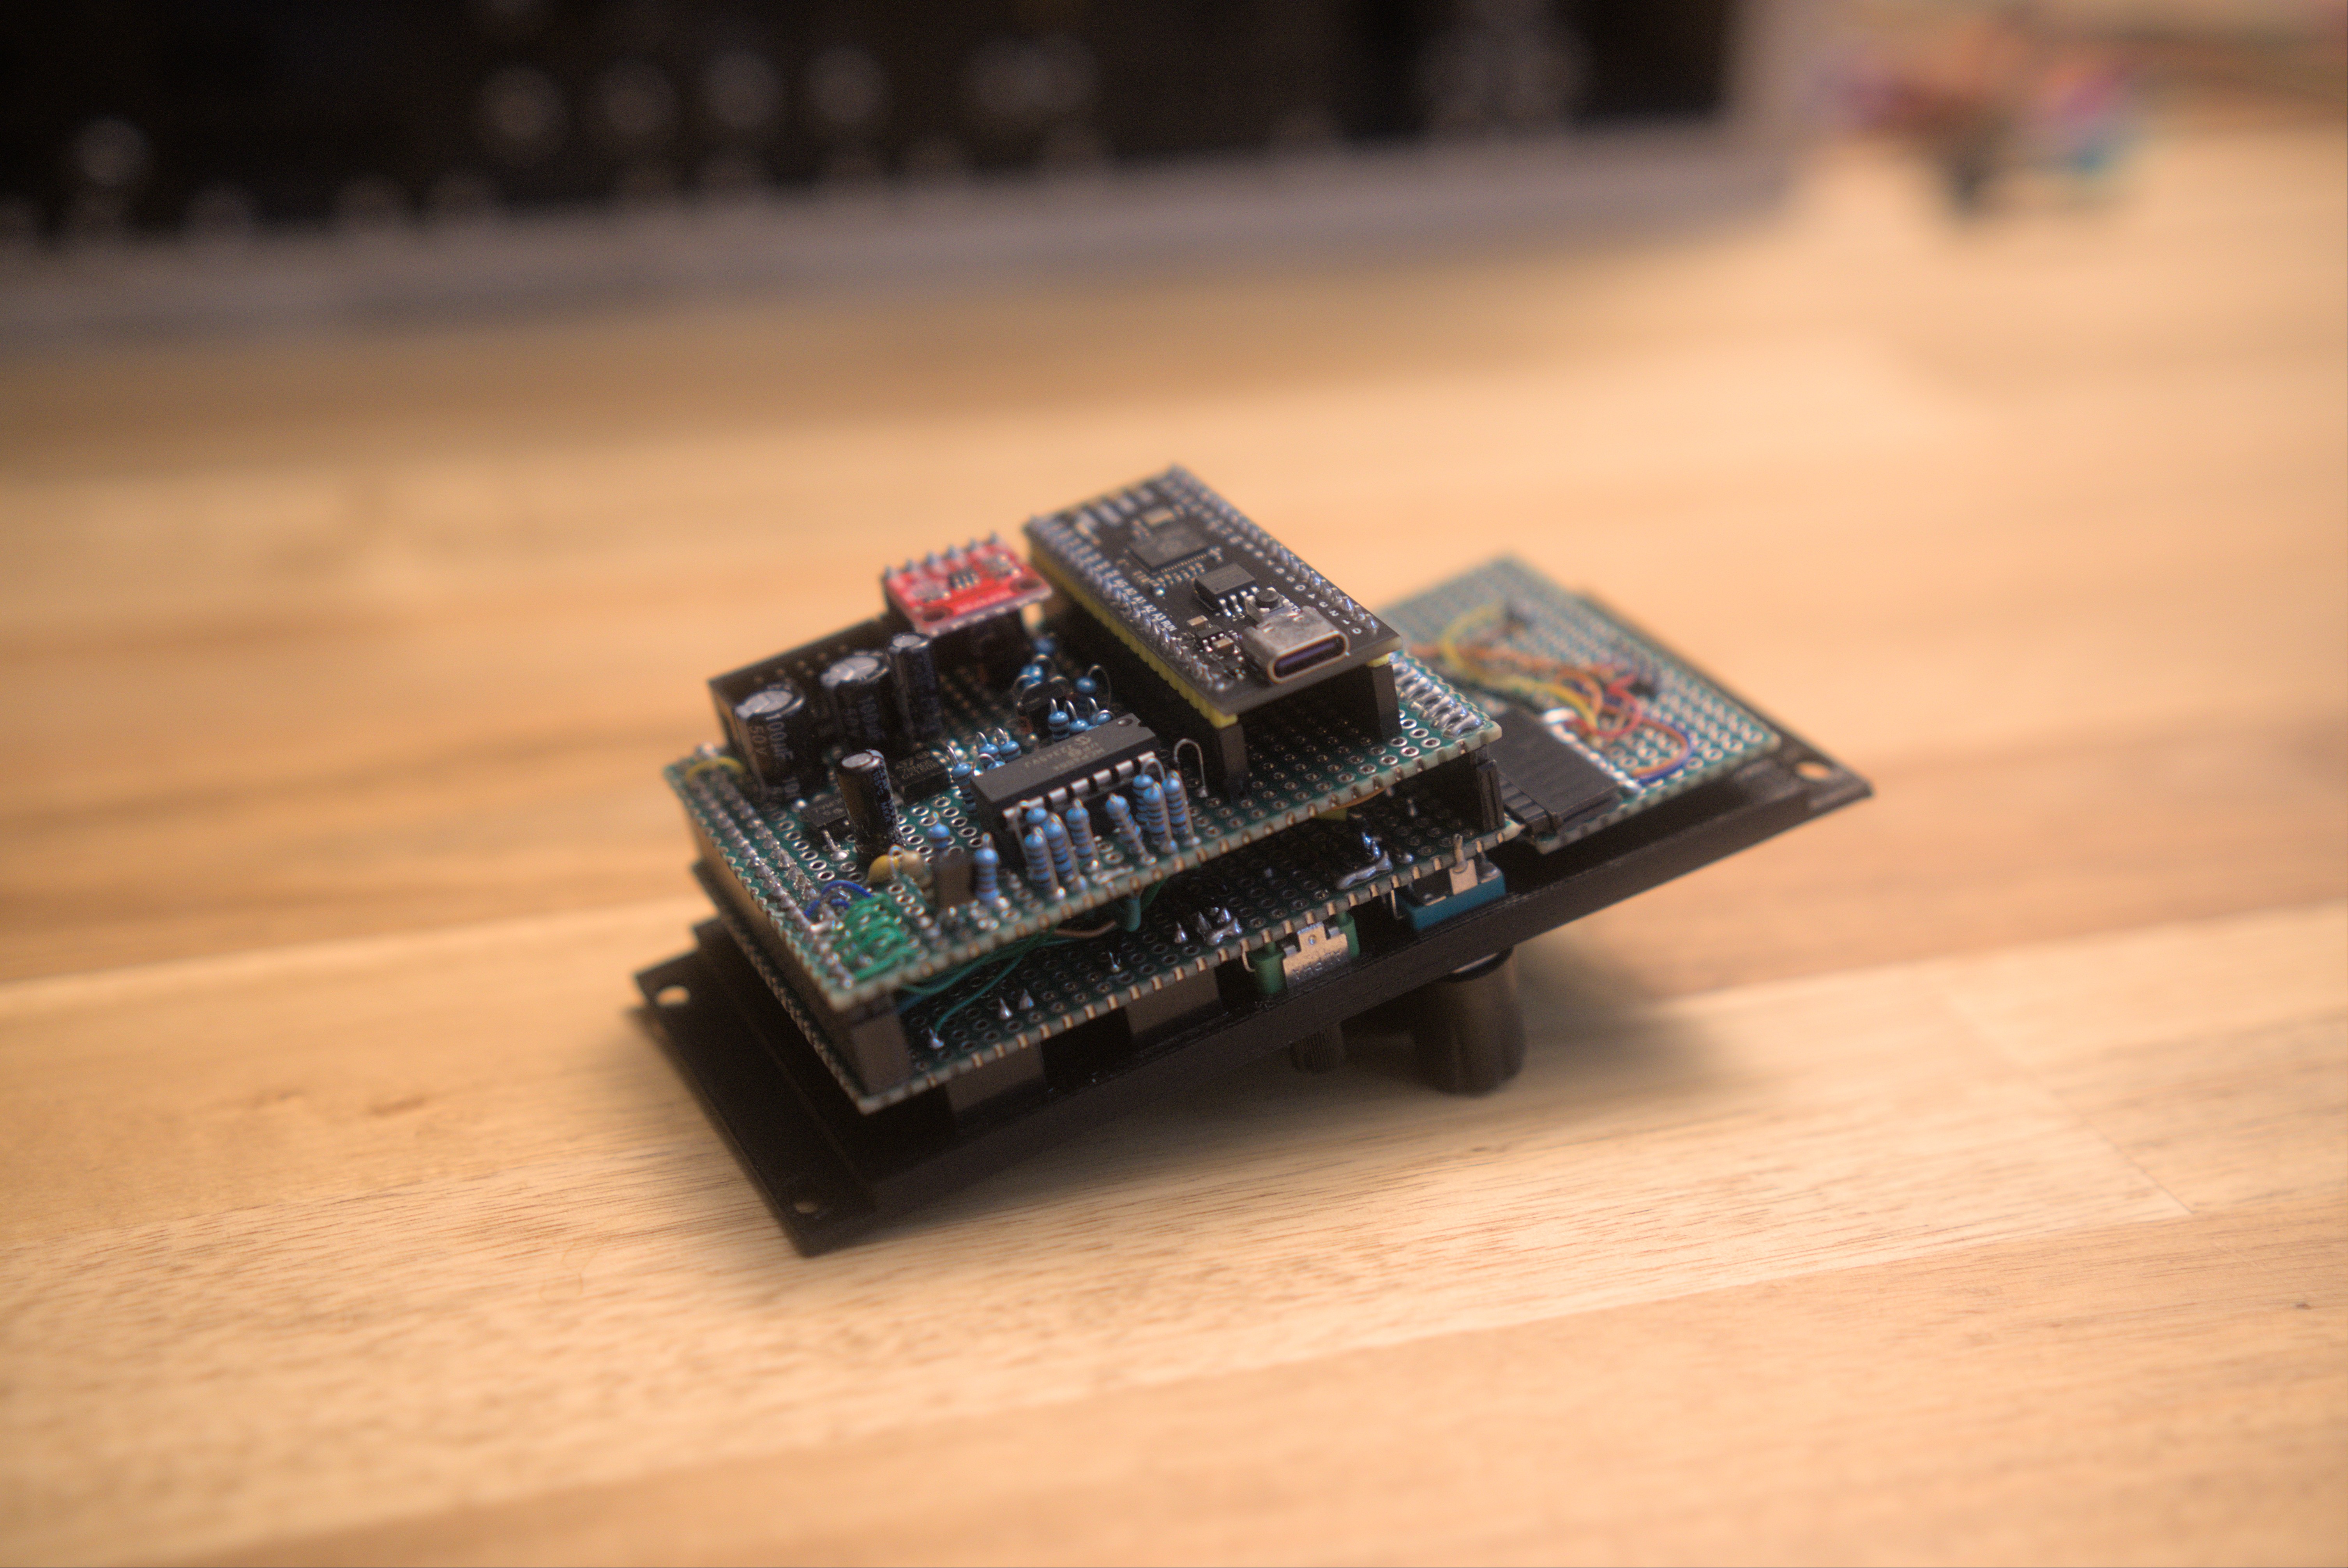
I used a clone of the Pi Pico (Pi Pico Lite Black 16MB).
If you don’t have it available, you can use an original Pi Pico. You just have to change some pin assignments. The clone I found has an additional ADC pin (GP29). You can ommit the fourth cv input, you just have to adjust the code.
Programming instructions
Starting fresh (Preparing the pico for the firmware)
- Download flash_nuke.uf2 from Adafruit.
- While holding down the BOOTSEL button on the Pi Pico, connect the usb cable to your computer.
- It should be visible as a USB drive as RPI-RP2. Copy the downloaded
flash_nuke.uf2into it. This will wipe any firmware in the Pico. Be sure to backup any files in your Pico.
Uploading main.py and lib
You can use Thonny IDE or VSCode with the Micropico plugin.
Development instructions
If you need to program the pico while it is connected to eurorack power, you can.
- Turn on the module (eurorack power)
- Plug in the usb to the pico (yes it won’t damage the pico)
Developing with VSCode
Use VSCode with the plugin MicroPico
Use the commands while developing:
- Delete all files from pico
- Upload project files to pico
- Run
Menu system
I cobbled up some code to help me make a menu system for this project. Its still in the early stages of development. I still need to clean it up.
You can take a look at my menu.py code in the GitHub repo for this project.
How the menu system works
SETTING SUBMENUS:
First, you would have to create instances of submenus in your main program.
Then you can put those instances in a list called submenu_list.
Lastly, call the set_submenus().
MAKING THE DISPLAY AND ENCODER DO ITS JOB:
Call loop_main_menu(update_main_program_values_callback=[callback_function]) in a while True loop.
The callback function is for updating the variables used in your main program. It is discussed more in detail below.
GETTING DATA FROM THE MENU SYSTEM INTO YOUR MAIN PROGRAM:
This library only handles the “front end” of your main python program, handling user interaction with the display and the rotary encoder.
It is designed to hold data but you should have variables in your main program so you can access the data easily.
For example, you need to get data from a submenu: you would need to call get_submenu_list() in order to update the main program’s variables.
To help you update your main program’s variables from the submenus, you will need to provide a callback function in your main program (example: update_values()).
This callback function will only be called when a submenu’s selected value has been changed (user pressed the encoder button).
MCP 4725 lookup table
The optimal lowest voltage should not be 0. The MCP4725 cannot output exactly 0v for some reason. Your tuning will not be exact when the value is 0.
| note no | 12 bit value | voltage output | keyboard note (example only) |
|---|---|---|---|
| 0 | 0 | 0 | C |
| 1 | 68 | 0.0830078125 | C# |
| 2 | 136 | 0.166015625 | D |
| 3 | 204 | 0.2490234375 | D# |
| 4 | 272 | 0.33203125 | E |
| 5 | 340 | 0.4150390625 | F |
| 6 | 408 | 0.498046875 | F# |
| 7 | 476 | 0.5810546875 | G |
| 8 | 544 | 0.6640625 | G# |
| 9 | 612 | 0.7470703125 | A |
| 10 | 680 | 0.830078125 | A# |
| 11 | 748 | 0.9130859375 | B |
| 12 | 816 | 0.99609375 | C |
| 13 | 884 | 1.079101563 | C# |
| 14 | 952 | 1.162109375 | D |
| 15 | 1020 | 1.245117188 | D# |
| 16 | 1088 | 1.328125 | E |
| 17 | 1156 | 1.411132813 | F |
| 18 | 1224 | 1.494140625 | F# |
| 19 | 1292 | 1.577148438 | G |
| 20 | 1360 | 1.66015625 | G# |
| 21 | 1428 | 1.743164063 | A |
| 22 | 1496 | 1.826171875 | A# |
| 23 | 1564 | 1.909179688 | B |
| 24 | 1632 | 1.9921875 | C |
| 25 | 1700 | 2.075195313 | C# |
| 26 | 1768 | 2.158203125 | D |
| 27 | 1836 | 2.241210938 | D# |
| 28 | 1904 | 2.32421875 | E |
| 29 | 1972 | 2.407226563 | F |
| 30 | 2040 | 2.490234375 | F# |
| 31 | 2108 | 2.573242188 | G |
| 32 | 2176 | 2.65625 | G# |
| 33 | 2244 | 2.739257813 | A |
| 34 | 2312 | 2.822265625 | A# |
| 35 | 2380 | 2.905273438 | B |
| 36 | 2448 | 2.98828125 | C |
| 37 | 2516 | 3.071289063 | C# |
| 38 | 2584 | 3.154296875 | D |
| 39 | 2652 | 3.237304688 | D# |
| 40 | 2720 | 3.3203125 | E |
| 41 | 2788 | 3.403320313 | F |
| 42 | 2856 | 3.486328125 | F# |
| 43 | 2924 | 3.569335938 | G |
| 44 | 2992 | 3.65234375 | G# |
| 45 | 3060 | 3.735351563 | A |
| 46 | 3128 | 3.818359375 | A# |
| 47 | 3196 | 3.901367188 | B |
| 48 | 3264 | 3.984375 | C |
| 49 | 3332 | 4.067382813 | C# |
| 50 | 3400 | 4.150390625 | D |
| 51 | 3468 | 4.233398438 | D# |
| 52 | 3536 | 4.31640625 | E |
| 53 | 3604 | 4.399414063 | F |
| 54 | 3672 | 4.482421875 | F# |
| 55 | 3740 | 4.565429688 | G |
| 56 | 3808 | 4.6484375 | G# |
| 57 | 3876 | 4.731445313 | A |
| 58 | 3944 | 4.814453125 | A# |
| 59 | 4012 | 4.897460938 | B |
| 60 | 4080 | 4.98046875 | C |